
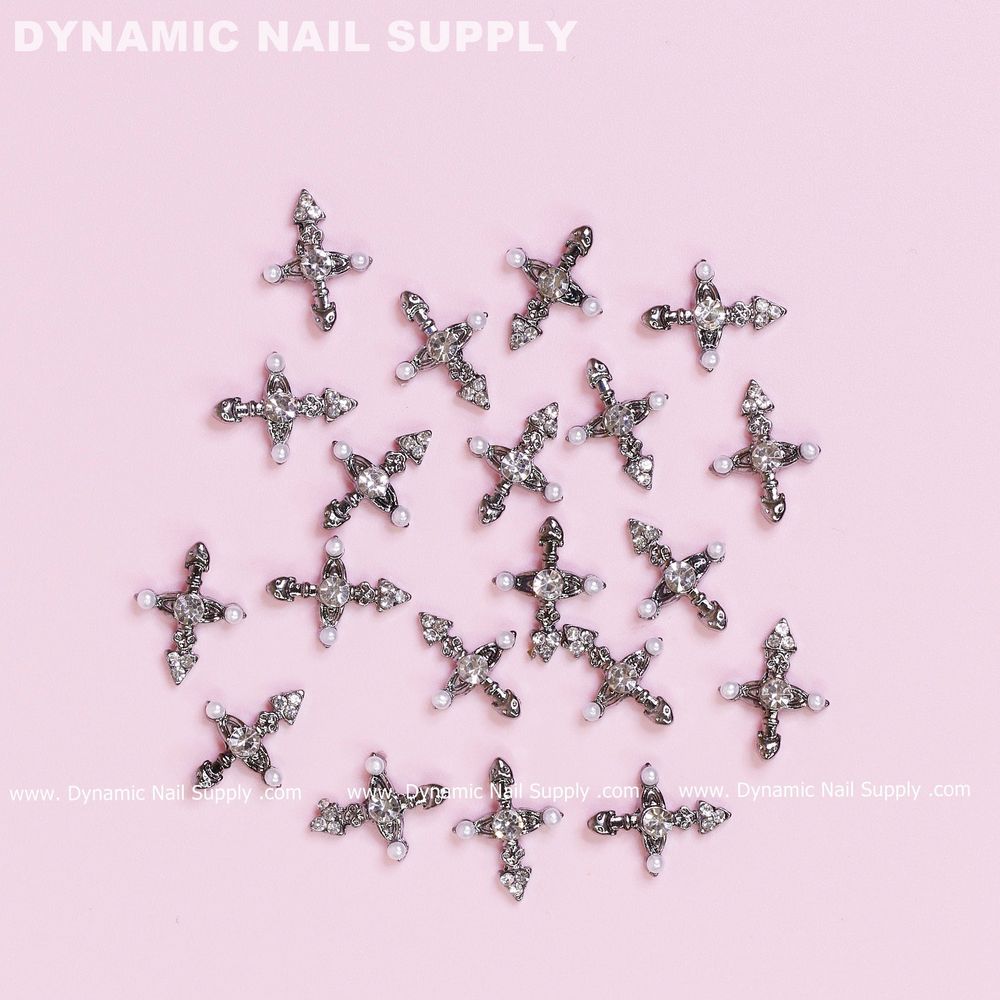
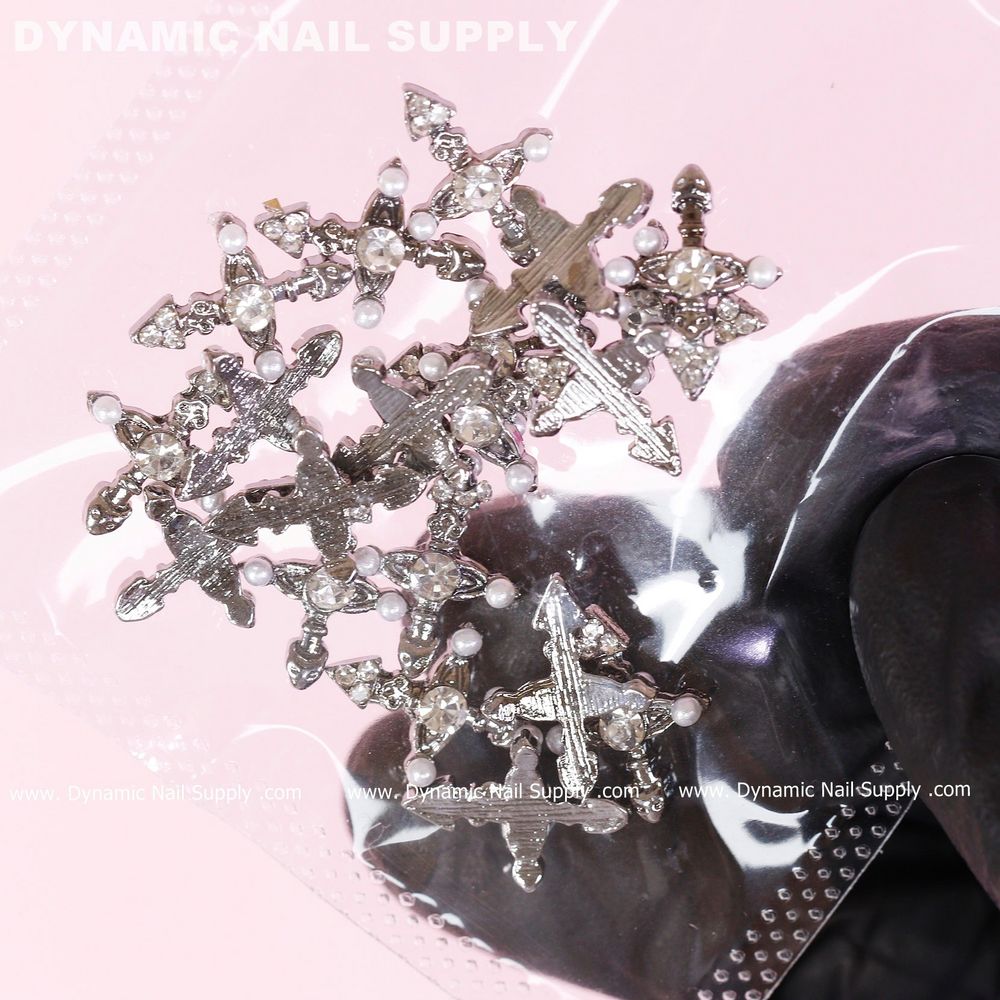
If you love gothic, vintage or Y2K nail looks, a small metal charm can transform a simple manicure into a signature design. This guide shows step-by-step how to apply 20 pcs silver cross nail charms (with pearls) so you can achieve professional results at home or in the salon.
Why choose these silver cross nail charms?
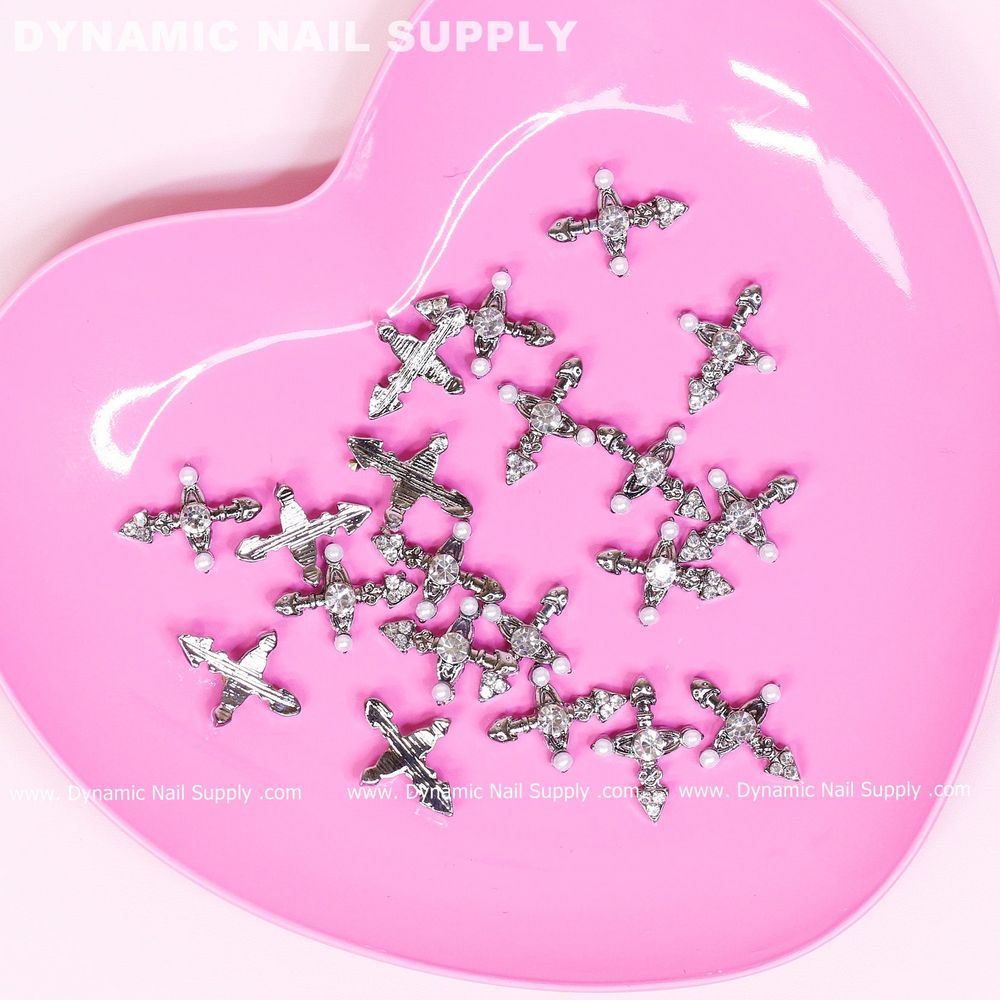
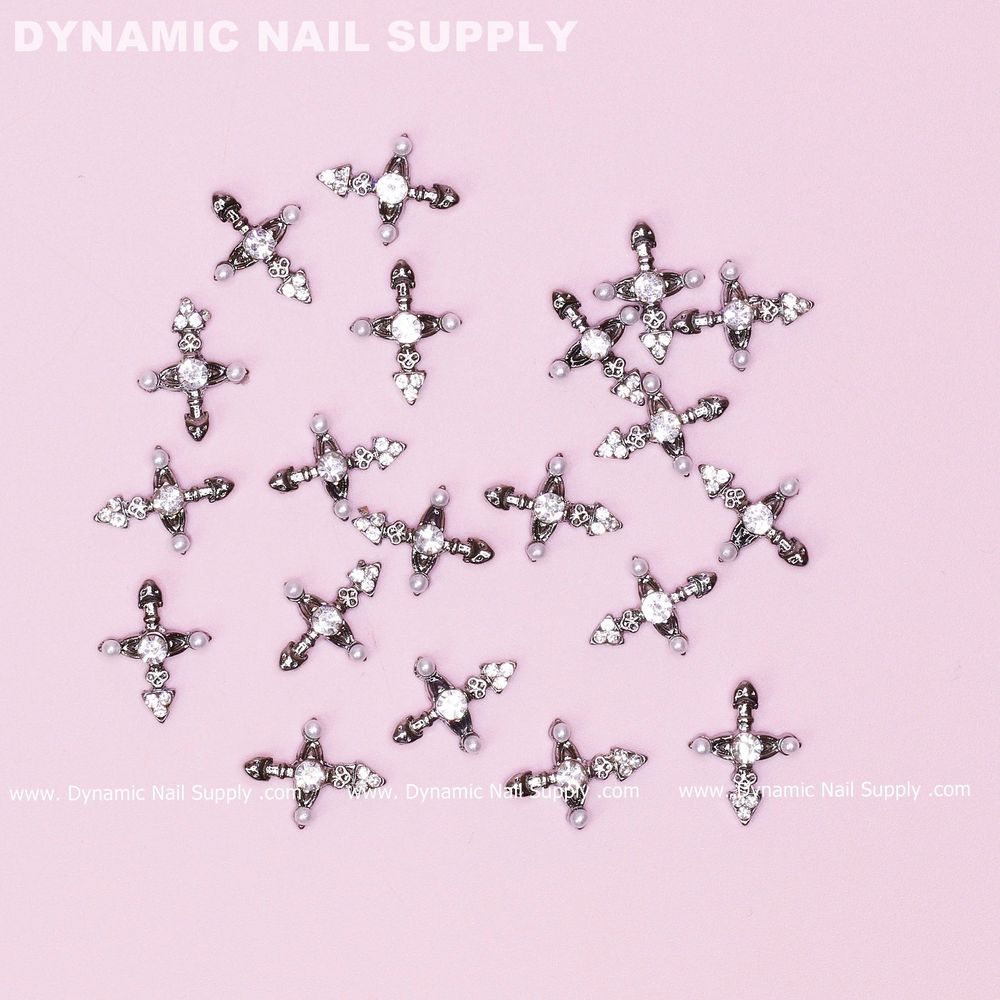
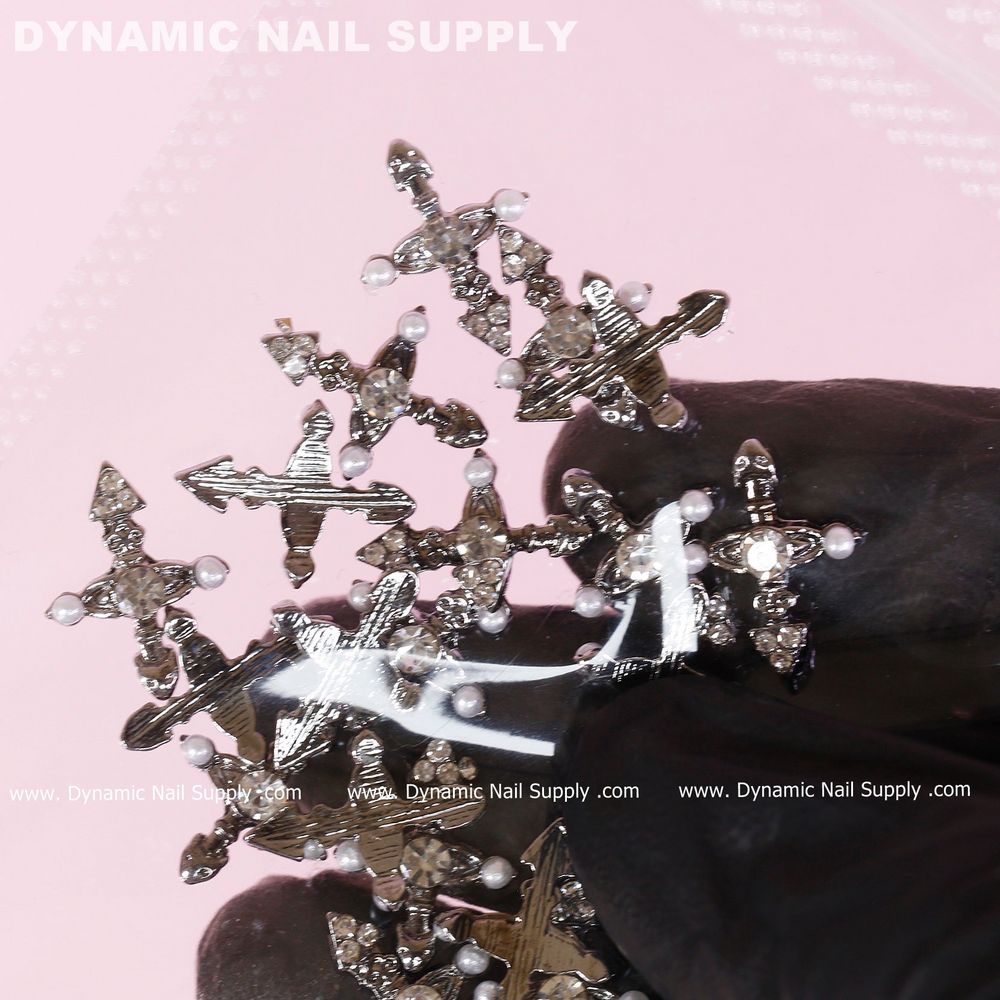
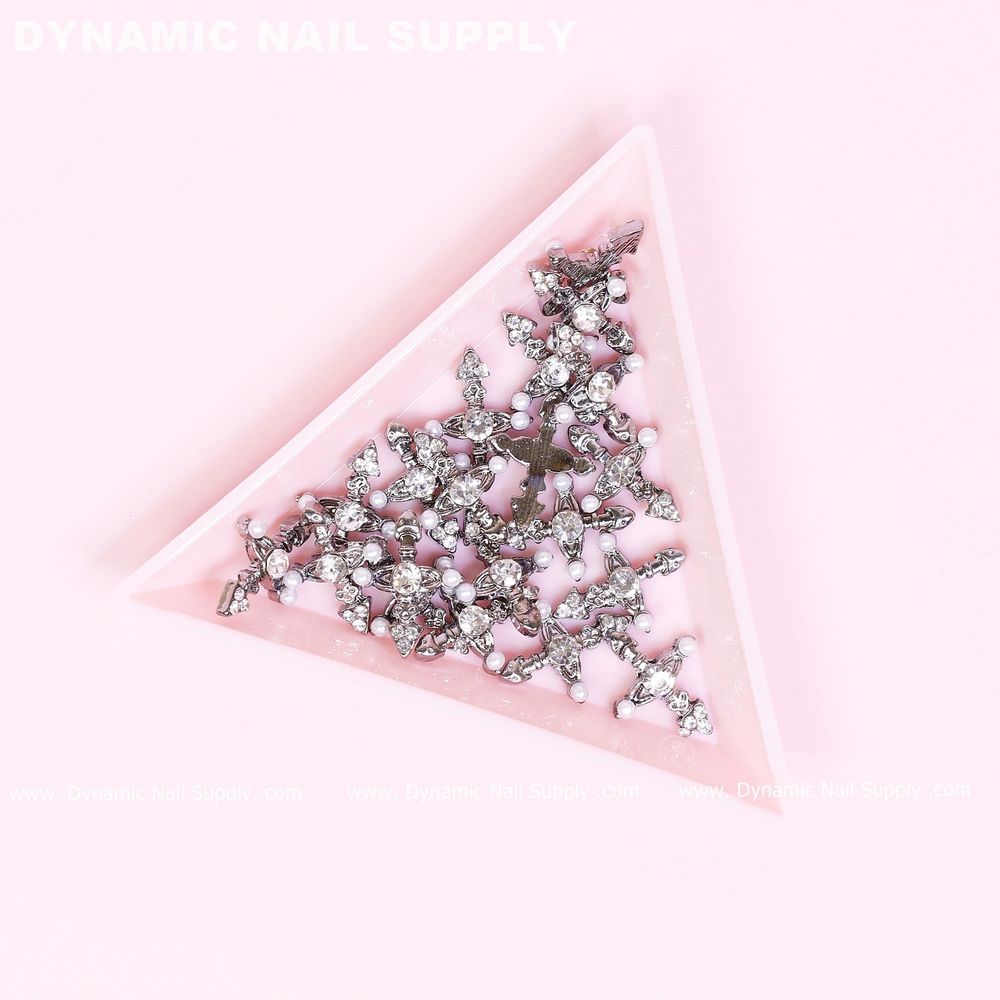
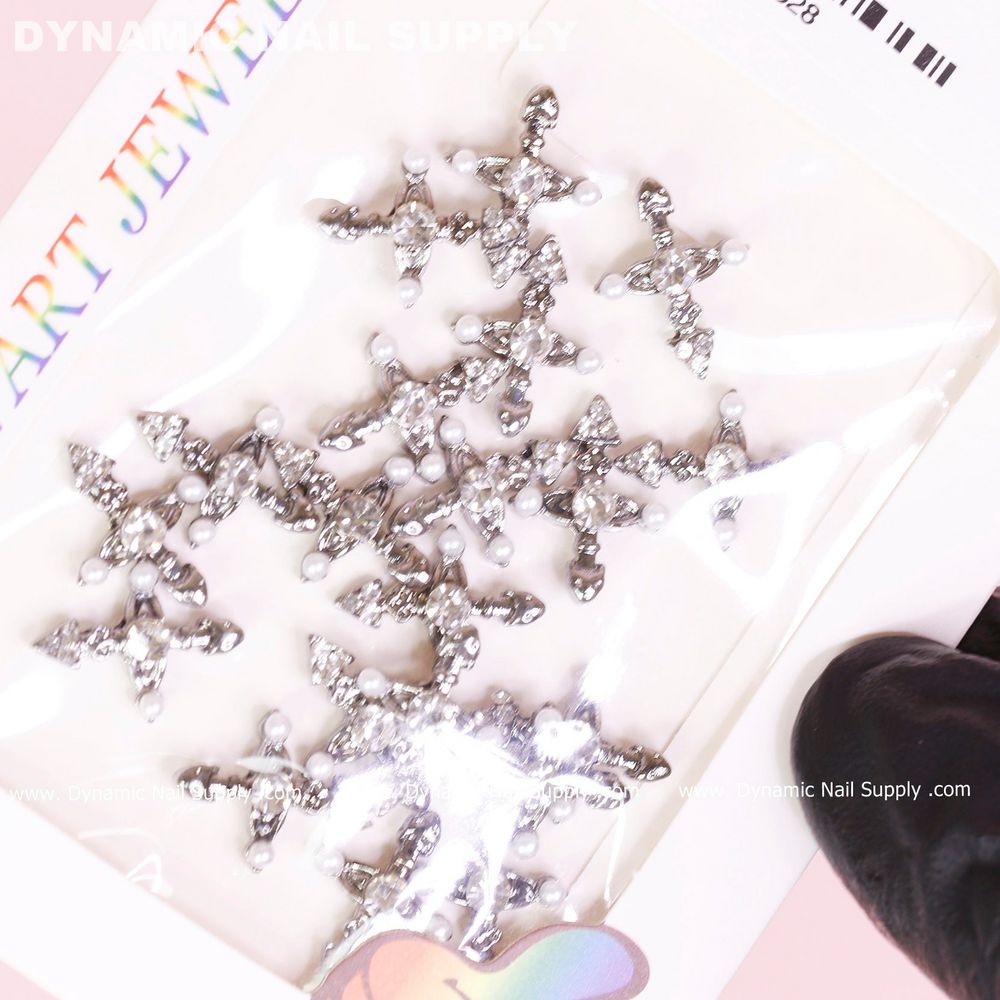
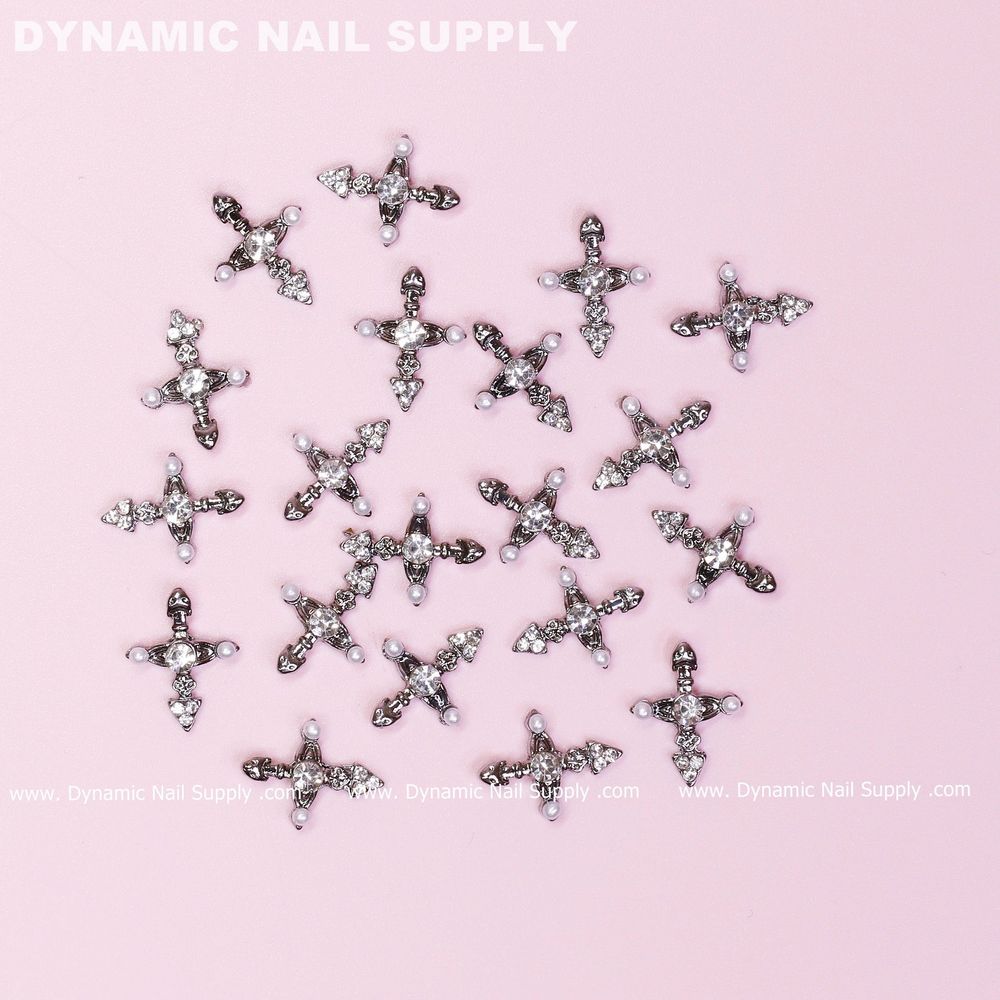
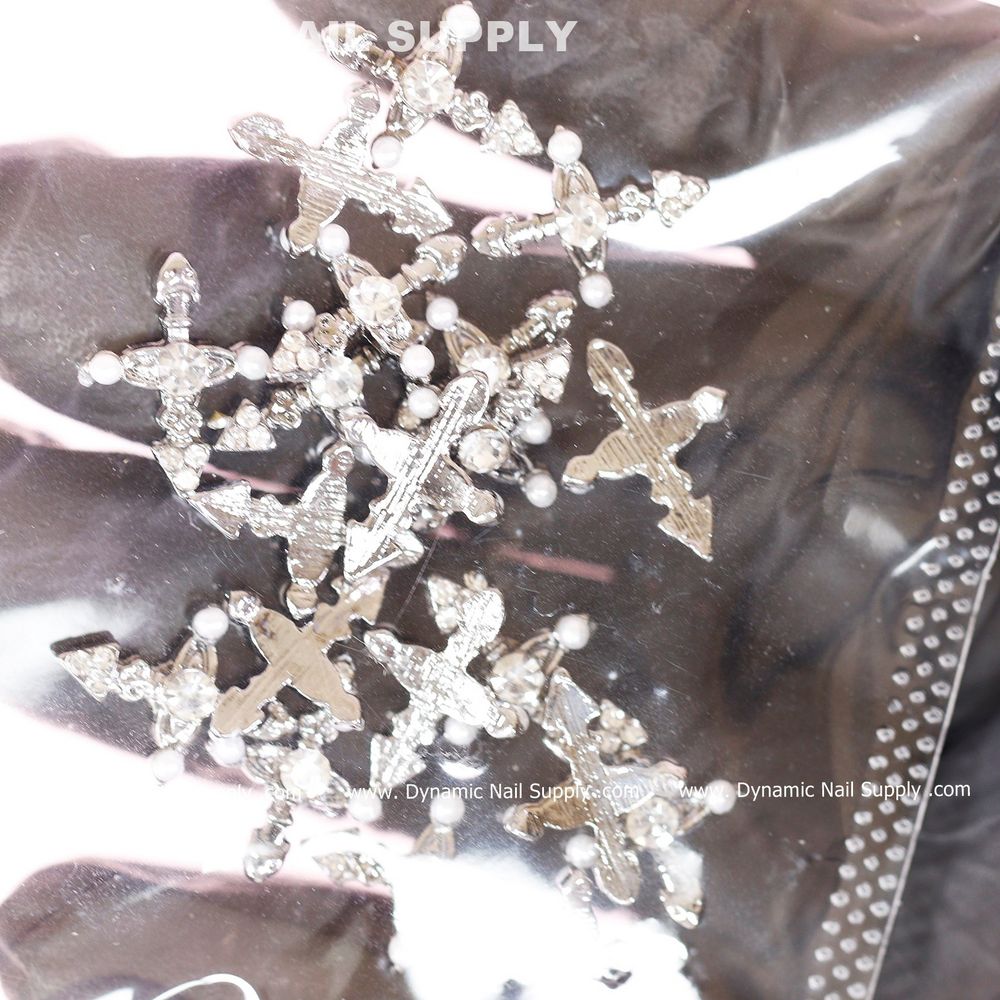
The pack includes 20 pieces with an antique chrome look and pearl accents, designed for nail art design and mixed-style applications. They’re compact enough for tips, short nails or accent fingers and versatile enough for punk, gothic, retro and Halloween themes. If you want a single pack to trial multiple placements, consider this nail charm set as an easy starting option.
Tools and supplies you’ll need
Gather everything before you start to keep placement smooth and efficient.
- Base manicure supplies: file, buffer, cuticle pusher and cleanser.
- Adhesives: professional nail glue for permanent placement or a gel topcoat for semi-permanent embedment.
- Placement tools: wax pencil, tweezer or a dotting tool to position tiny charms precisely.
- Finish: gel or regular topcoat and, if using gel, a UV/LED lamp to cure.
Prep: the foundation for long-lasting charms
Proper preparation prevents lifting and keeps the metal looking crisp. Start with a clean, dry nail bed: push back cuticles, lightly buff the surface to remove shine, and wipe with an alcohol wipe or cleanser. For natural nails, use a strong base coat to strengthen the bond; for enhancements, ensure the extension surface is smooth and free of dust.
Placement techniques for salon-level precision
Placement depends on the nail length, shape and the effect you want. Here are three reliable methods used by professionals:
- Center accent: Place the cross vertically down the center of the nail for a classic, symmetrical look. This works well on longer tips and creates a focal point when paired with a glossy black or muted chrome base.
- Corner anchor: Position a small charm near the cuticle or sidewall on short nails—this keeps the design visible without overwhelming the tip.
- Clustered accents: Combine crosses with small pearls or other micro charmed pieces to make an artful cluster on one or two accent nails.
Use a wax pencil or fine-tip tweezer to pick up each charm. Apply a small drop of glue or a dab of builder gel where the charm will sit—too much adhesive can spread out and dull the finish.
Securing and sealing: glue vs. gel
Choose your adhesive based on desired longevity and finish. Nail glue gives immediate, strong adhesion for metal pieces; press the charm into place for a few seconds and wipe away any excess glue with an orangewood stick. For a smoother, padded finish and extended wear, embed the charm into a cured layer of builder or sculpting gel, then encapsulate with a clear gel topcoat and cure under a lamp.
When using a regular topcoat, apply two thin layers over and around the charm to protect edges—avoid brushing directly over delicate pearls to preserve sheen.
Styling ideas to showcase the crosses
These silver crosses play nicely with multiple aesthetics. Try these combinations:
- Gothic chrome: Matte black base, single centered cross, small pearl at the cuticle.
- Vintage glam: Soft nude or mauve with an off-center cross and clustered pearls for a retro charm.
- Y2K punk: Bold color gradient, multiple small crosses across two accent nails, glossy finish.
Who will love this pack?
These charms are ideal for nail artists building a themed kit, techs offering specialty looks, and at-home creatives who want experiment-friendly supplies. The set of 20 means you can offer multiple clients small accents or create varied looks across fingers in a single session. The product is sold by Dynamic Nail Supply and currently listed at $5.99, though prices may change.
Care, removal and safety notes
To maintain the charm’s appearance, avoid prolonged exposure to harsh chemicals and use gloves when cleaning. If a charm loosens, remove gently with an orangewood stick—do not pry forcefully to avoid damaging the natural nail or enhancement. For removal, soak the nail in an appropriate remover depending on your adhesive (acetone for glues on natural nails; gel removal protocol for encapsulated pieces). Keep charms away from small children and do not ingest.
Quick troubleshooting and pro tips
- Charm lifts: Check that the nail surface was fully degreased before applying adhesive.
- Pearly dullness: Avoid curing pearls directly under strong UV for prolonged periods; topcoat can help lock in luster without clouding.
- Uneven placement: Place charms on a thin layer of unset gel, adjust position, then cure to lock exactly where you want it.
With modest practice and the right prep, 20 pcs silver cross nail charms (with pearls) let you produce distinctive, salon-worthy results whether you’re customizing a client’s set or elevating your at-home manicure. Keep tools ready, work methodically, and choose placement that complements the nail shape for the cleanest, most professional finish.