
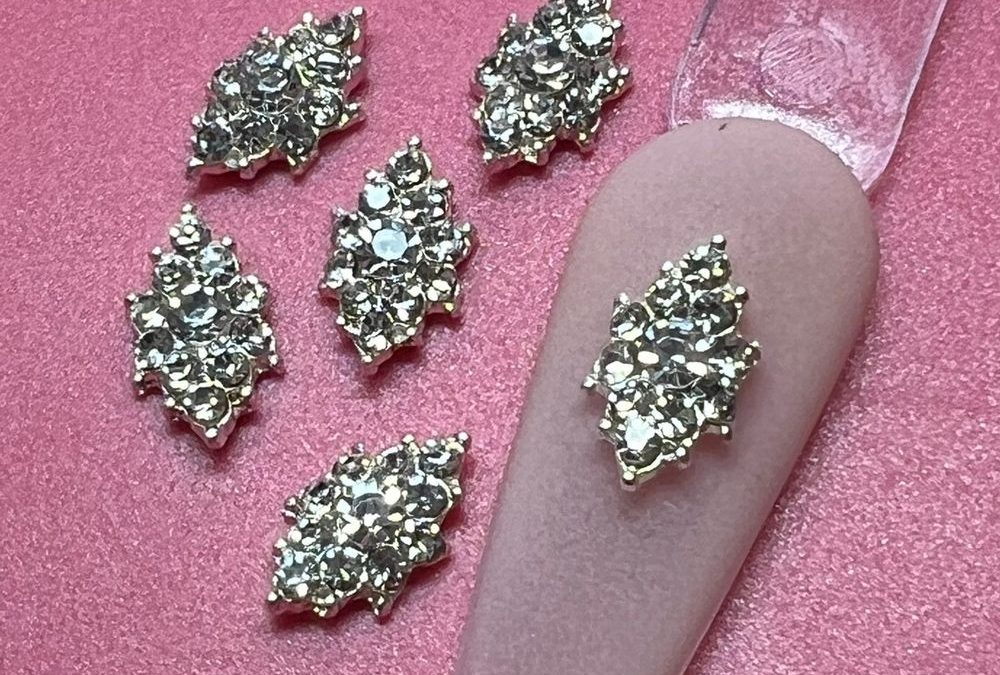
Readers will learn fast, repeatable steps to repair loose rhombus charm accents, the basic tools to keep on hand, and quick inspection checks to stop the problem before it starts. This review focuses on the 6 pcs Rhombus shape Charm for Nails Art Design (Rhinestones Engraved) — a small gold‑edged crystal cluster sized for fingertip accents.
- At a glance:
- Set: 6 rhombus multi‑stone clusters with warm gold edges.
- Look: clear faceted crystals in a small rhombus cluster; shown on a nude press‑on for scale.
- Common uses: single accent nail, bridal/prom detail, or ring‑finger statement.
- Price point: $6 (may change).
Quick tools and setup
Keep a tiny kit next to your polish station. Essentials are a fine tip tweezer, wax pick or micro dotting tool, a 5–10 ml brushable nail glue (thin viscosity), and a toothpick for micro‑amounts. Add a small bottle of rubbing alcohol (isopropyl) or a degreaser pad for surface cleaning and a soft lint‑free cloth. Good light and a steady rest for the hand matter more than specialty picks.
Fast rebonding: step‑by‑step
- Inspect. Hold the charm up to light. Look for gaps between the gold frame and the nail surface or missing adhesive residue.
- Clean. Gently lift and clean the contact area on the charm with a tiny dab of isopropyl on a lint‑free swab. Let dry. Clean the nail surface where it will sit.
- Thin glue application. Use a toothpick to place a very small dot of thin nail glue on the nail or press‑on where the rhombus will seat. Avoid flooding the gold frame.
- Seat and hold. With fine tip tweezers or a wax pick, align the rhombus cluster and press gently for 10–15 seconds. Hold until the initial tack sets.
- Edge check. Run the tip of a clean tool around the gold edge to ensure adhesive has reached under the bezel without excess on the crystals.
- Cure and finish. If using a brushable adhesive, cure per product directions. For instant glue, wait a minute then finish with a very small topcoat rim around the base for extra security—thin and only at the edge.
Common mistake: too much glue
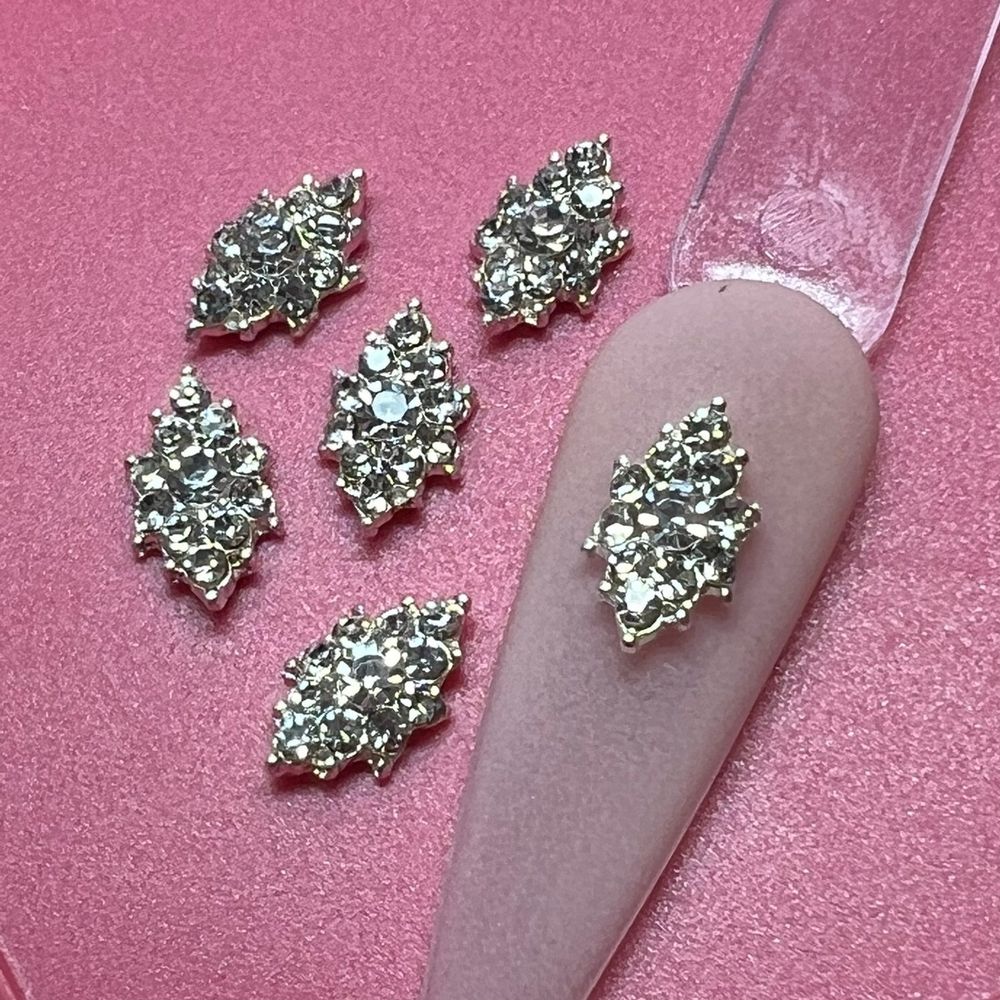
Large beads of glue push crystals out of alignment and show under bright light. Use the smallest amount that bonds. Excess glue is the main reason faceted clusters look cloudy or sit proud instead of flush.
Inspection checkpoints between clients
- Lift test: gently nudge each charm at appointment start. If any move more than 1 mm, rebond before service continues.
- Edge shine: examine the gold rim. Dull or rough edges can indicate residual adhesive or wear; clean those areas before reuse.
- Crystal clarity: cloudy faces often mean adhesive seeped into the stones. Remove and clean the charm if sparkle is reduced.
- Scale check: use a press‑on tip or the actual nail to confirm size and fit—this item is sized to sit on a fingertip accent.
When to remove and replace
Small lifting can be rebonded. If the gold frame is bent, crystals are loose inside the bezel, or multiple stones are missing, replacement is safer. These rhombus clusters are delicate; repeated reglues can worsen fit. Keep spare clusters in original storage to swap during a service if needed.
Finishing touches and wear prevention
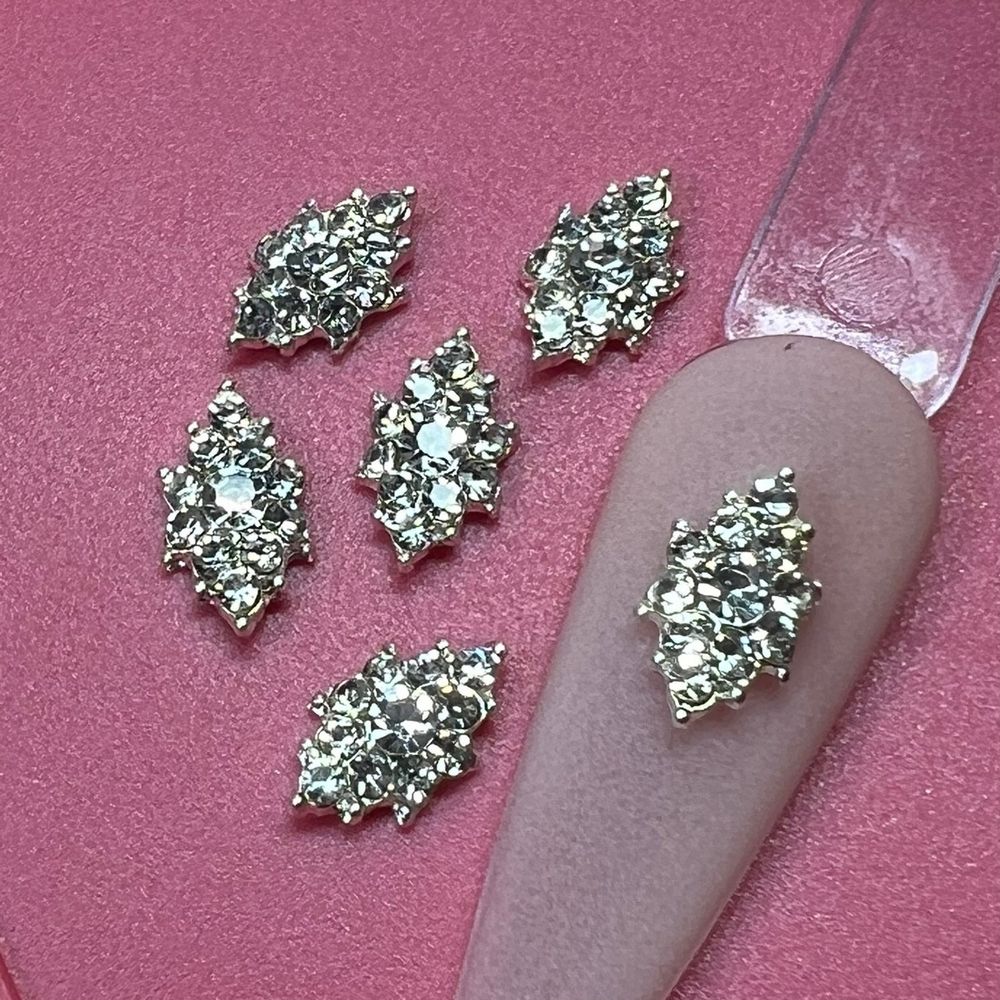
After rebonding, a tiny clear topcoat bead around the base helps buffer daily knocks. Avoid heavy buffing on the gold rim and skip soak‑off treatments directly over the charm. Recommend clients avoid prolonged exposure to hot water and abrasive cleaners when possible—simple care extends wear.
Handling and safety notes
Handle charms with tweezers to prevent oils from fingers dulling the crystals. Keep glue away from skin and eyes. Work in a well‑ventilated area and store small pieces in a closed box to avoid loss or choking hazard if children are present.
Quick troubleshooting cheat sheet
- Charm sits proud after glue: remove excess, add a thinner bead under the edge, reseat and hold.
- Crystal looks cloudy: clean gently with isopropyl and a soft cloth; if clouding persists remove and inspect bezel.
- Gold rim tarnishes or dulls: polish very gently with a microfiber cloth; do not use harsh chemicals.
- Repeated lift at the same spot: consider light edge filing on the nail surface to create a micro recess for the charm to seat.
These fixes are tailored for the warm gold‑edged rhombus clusters shown on a matte nude tip. A steady hand, minimal adhesive, and small inspection steps keep the small faceted crystals bright and secure. For one‑off repairs or to swap a worn cluster, this 6‑piece set is compact and convenient; check stock and price before you buy. https://dynamicnailsupply.com/products/6-pcs-rhombus-shape-charm-for-nails-art-design-rhinestones-engraved
Bottom line: quick, precise rebonding keeps these tiny luxury accents working as intended. Try the simple kit approach and add a single spare for fast swaps—then inspect between clients and be stingy with glue. Explore the product details to decide if this rhombus cluster style fits your accent routine.